12 No-Carve Pumpkin Ideas (No Knives, No Mess)
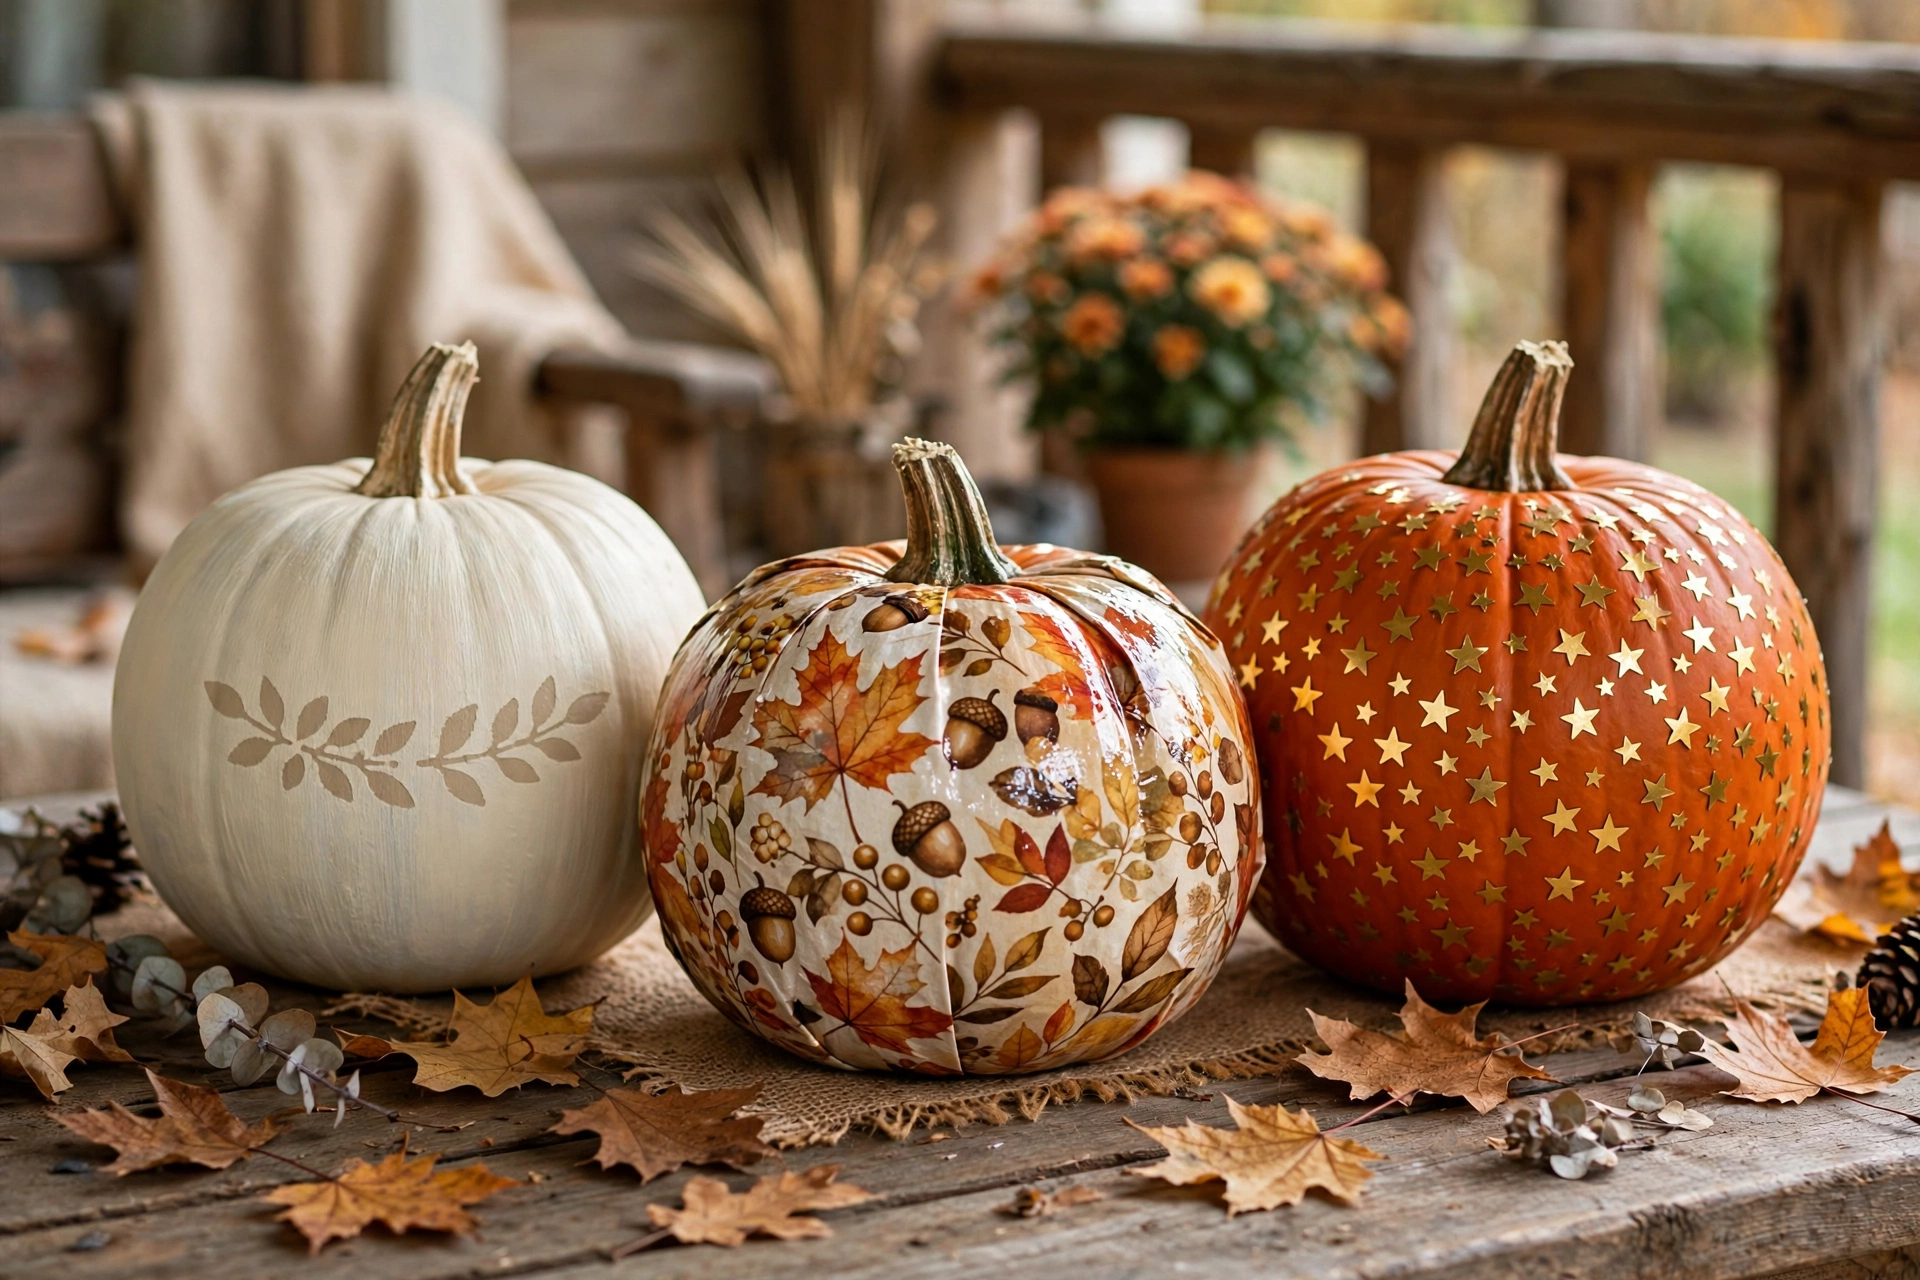
Illustrative image.
Carving a pumpkin means wrestling a slippery gourd with a sharp knife — and then watching it rot in four days. There's a better way. Every idea below decorates the pumpkin without cutting it at all: paint it, wrap it, stick things to it, dress it up. No blades, no scooping out slimy seeds, no Band-Aids.
The bonus nobody tells you: an uncut pumpkin lasts 3–4 weeks, while a carved one is mush by the weekend. Decorate once, enjoy all October.
Every idea lists time, cost, and difficulty — and each one notes whether it's arthritis-friendly.
Before you start: the two-minute setup
- Wipe the pumpkin down with a damp cloth and let it dry. Paint and stickers grip clean, dry skin far better.
- Work at the table, seated. Put a plastic tablecloth or newspaper down once and you're set for all 12.
- Real or faux? Real pumpkins are cheap and last weeks uncut. Faux craft-store pumpkins ($5–$12) can be decorated once and reused every year — the cheapest option over time.
- Glue of choice: a bottle of Mod Podge (or any decoupage glue) handles half the ideas on this page. One bottle, many pumpkins.
The 12 ideas
1. Chalk-paint pumpkins — 1 hour · $8–$12 · Easy
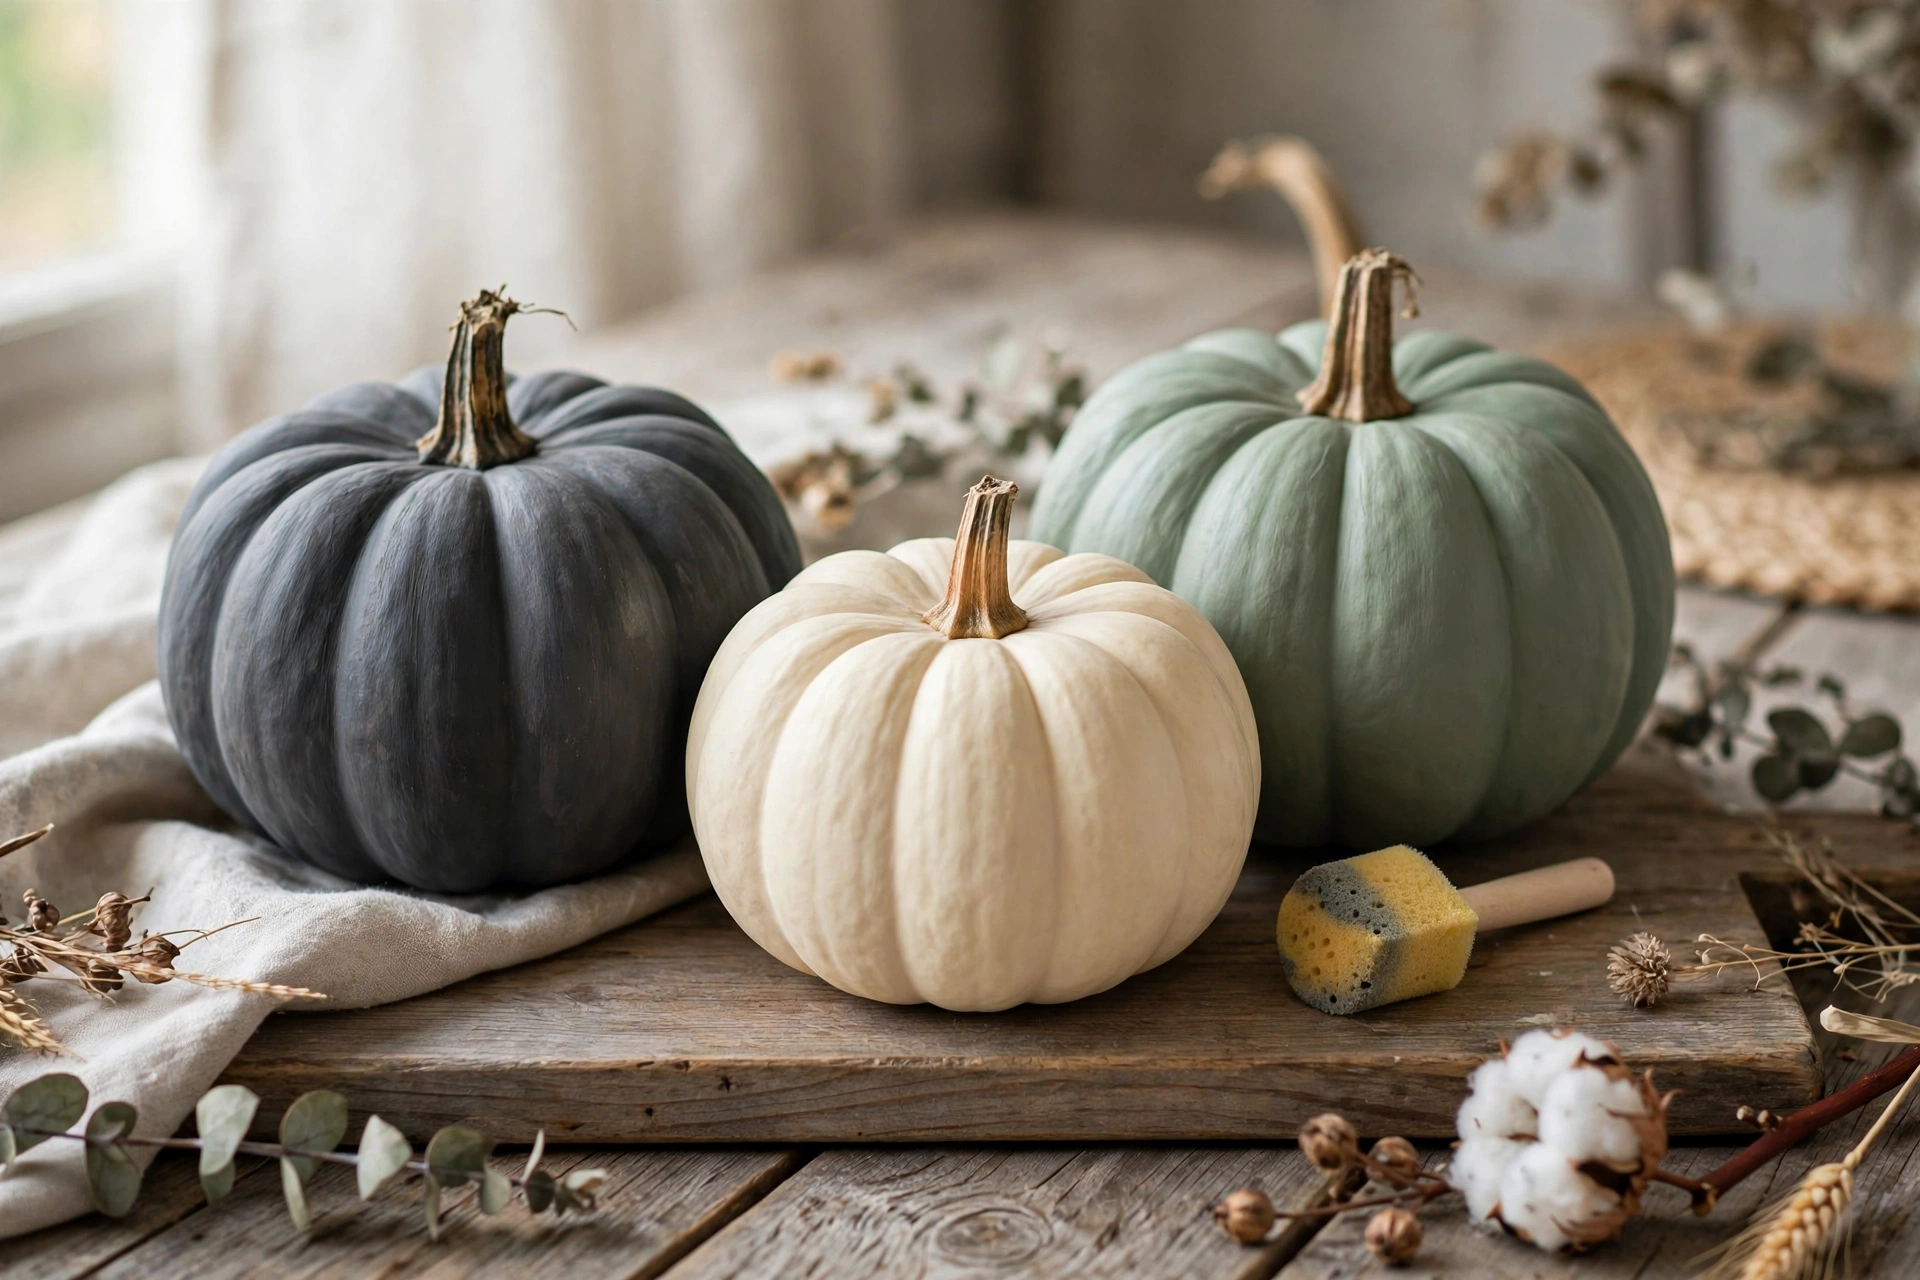
Illustrative image.
Two coats of chalk paint turn any orange pumpkin into a farmhouse decoration — matte charcoal, cream, dusty sage. Use a sponge dabber instead of a brush: dab, don't stroke, and the coat goes on smooth with almost no effort. Arthritis-friendly: yes — dabbing beats brushing.
2. Decoupage napkin pumpkins — 45 min · $5–$8 · Easy
Peel a pretty paper napkin down to its single printed layer, tear it into pieces, and glue them onto the pumpkin with Mod Podge. Overlap the pieces — the seams disappear under a final glue coat. Botanical prints and vintage Halloween illustrations look stunning. Arthritis-friendly: yes, tearing beats cutting.
3. Sticker-face pumpkins — 15 min · $3–$5 · Easiest
Vinyl face decals (sold as "pumpkin decorating kits" every October) peel and stick straight onto the pumpkin — spooky faces, silly faces, cat faces. Zero skill, zero mess, endlessly rearrangeable. The grandkids' favorite, and honestly the adults' too. Arthritis-friendly: yes — peeling is the whole job.
4. Thumbtack-studded pumpkins — 30 min · $4–$6 · Easy
Push decorative thumbtacks (brass, black, pearl) into the pumpkin in swirls, stripes, or a monogram. The pins go in with thumb pressure — no hammer needed on a real pumpkin — and the studded look is genuinely elegant. Arthritis-friendly: yes, if you can press a thumbtack; use a thimble if fingertips are tender.
5. Polka-dot pumpkins — 45 min · $3–$5 · Easy
Dip the eraser end of a pencil in acrylic paint and dot it all over a painted pumpkin — perfect polka dots with zero brush control. Gold dots on matte black is the classic; white dots on orange reads cheerful from the street. Arthritis-friendly: yes — stamping beats painting.
6. Fabric-wrapped pumpkins — 20 min · $2–$4 · Easy
Cut a square of fabric (flannel, burlap, an old scarf), set the pumpkin in the middle, gather the fabric up around the stem, and tie it with twine or ribbon. Instant cozy pumpkin, no glue, no paint — and you can re-wrap the same pumpkin in different fabric next week. Arthritis-friendly: yes.
7. Glitter pumpkins — 30 min · $5–$7 · Easy
Brush Mod Podge over the pumpkin (or just the top half for a dipped look), sprinkle glitter over a tray, shake off the excess. Do it over newspaper and the cleanup is one fold of paper. Seal with a second thin Mod Podge coat so glitter doesn't shed on the porch. Arthritis-friendly: yes.
8. Melted-crayon drip pumpkins — 30 min · $3–$5 · Easy
Glue crayon pieces around the top of the pumpkin with a hot-glue gun, then melt them with a hair dryer on high — the wax drips down in gorgeous streaks. Autumn color mixes (orange, red, gold) look best. Arthritis-friendly: mostly — ask someone to handle the hot-glue gun.
9. Washi-tape pumpkins — 25 min · $4–$6 · Easy
Wrap strips of washi tape around the pumpkin in stripes, chevrons, or a crisscross lattice. The tape repositions cleanly, so there's no such thing as a mistake — peel and retry. Black-and-white tape on an orange pumpkin is striking from the curb. Arthritis-friendly: yes.
10. Flower-crown pumpkins — 20 min · $6–$10 · Easy
Hot-glue faux fall flowers, leaves, and berries in a ring around the stem — a pumpkin wearing a flower crown. Stick to a warm palette (rust, gold, deep red) and it doubles as a Thanksgiving centerpiece. Arthritis-friendly: mostly — ask someone to handle the hot-glue gun.
11. Button-mosaic pumpkins — 1 hour · $3–$5 · Medium
Glue buttons from the sewing box onto the pumpkin in rows, spirals, or a big initial. It's slow, meditative work — the kind you do with a cup of tea and an audiobook. A tin of mixed buttons from a thrift store costs almost nothing. Arthritis-friendly: gentle — take breaks; tweezers help with small buttons.
12. Glow-in-the-dark pumpkins — 45 min · $6–$9 · Easy
Paint the pumpkin with glow-in-the-dark acrylic (two coats), then add a simple design in regular paint — stars, a moon, a spiderweb. Charge it in daylight and it glows on the porch all evening with no candles, no batteries, no flames. Arthritis-friendly: yes.
How to make them last for weeks
- Keep the stem intact. The stem is the pumpkin's seal — never cut it off. A pumpkin with its stem lasts weeks; without it, days.
- Bring them in at night if frost threatens. Cold is the enemy; a garage or enclosed porch is enough.
- Set them on a tray or mat, not directly on damp soil or concrete — moisture wicks up from the bottom.
- Wipe with diluted vinegar (1 part vinegar, 10 parts water) once a week to discourage mold on real pumpkins.
- Go faux for forever. A $8 craft-store pumpkin decorated this year goes back in the box in November and comes out next October good as new.
Free stencil trick (no printer needed)
Want a crisp design without drawing skills? Draw a simple shape — a bat, a moon, a star — on printer paper, cut it out, and hold it against the pumpkin as a stencil while you sponge paint around it. Peel the paper away and the shape stays clean. Paper stencils are single-use, but drawing three or four takes ten minutes and they cost nothing.
Want more senior-safe crafts?
These pumpkins pair perfectly with our 15-idea crafts collection — mason jar ghosts, paper bats, and more, all with arthritis-friendly notes.
See the 15 Crafts →Frequently Asked Questions
How do you decorate a pumpkin without carving?
Paint it, wrap it, stick things to it, or dress it up: acrylic paint with a sponge, adhesive vinyl decals, decoupage napkins with Mod Podge, fabric wraps, push-in thumbtacks, washi tape, and stick-on gems all decorate a pumpkin beautifully without a single cut. No-carve pumpkins also last 3–4 weeks instead of rotting in days.
What paint stays on pumpkins?
Acrylic craft paint is the best choice — it grips the pumpkin's waxy skin, dries fast, and cleans up with water. Use a sponge dabber instead of a brush for the smoothest coat with the least effort. Seal with a clear acrylic spray or a thin layer of Mod Podge so the design survives porch weather.
Do no-carve pumpkins last longer than carved ones?
Much longer. A carved pumpkin rots in 3–7 days once the flesh is exposed. An uncut pumpkin decorated with paint or stickers stays good for 3–4 weeks indoors, 2–3 on a shaded porch. Faux craft-store pumpkins decorated once can be reused every Halloween for years.
Are no-carve pumpkins safe for seniors with arthritis?
Yes — that's the whole point. Every idea on this page avoids knives and carving tools; most use dabbing, sticking, or wrapping motions that are gentle on stiff hands. Ideas marked "mostly" need a helper for one hot-glue step, which takes a minute.